

The drag and drop feature in Windows helps you move the file from one folder location or one app to another with the help of your trackpad or mouse. While you can easily enable drag and drop on Windows 11, some users face an issue where the drag and drop is not working on their computer. As a result, they are unable to drag files on the desktop, in File Explorer, or between apps.

The most common reasons for this issue include a glitched app or Windows Explorer, corrupt mouse drivers, incorrect mouse drag settings, and corrupt system files. Try these eight methods to make the drag and drop feature work properly again.
1. Close and Restart the App
When you drag and drop files between apps or a particular app, it usually works fine. But for some reason, if drag and drop doesn’t work for a particular app, you can close it completely and relaunch it. Here’s how:
Step 1: Press the Control + Shift + Escape keyboard shortcut at once to open the Task Manager.
Step 2: Scroll down and find the app in the Processes list. Right-click on it and select the End task option.

Step 3: Close the Task Manager window.
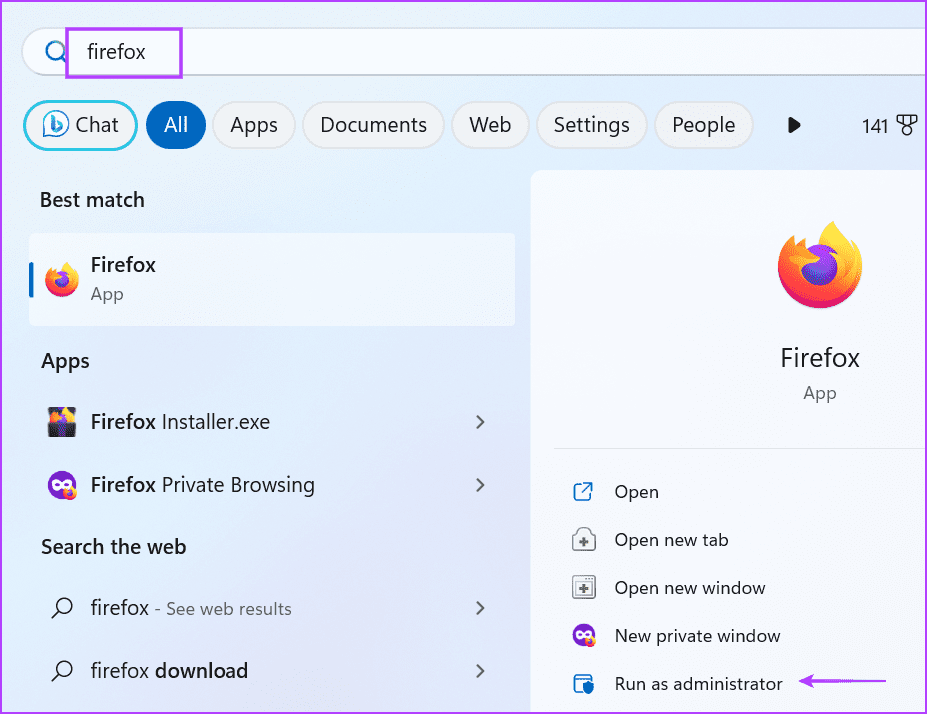
Step 4: Press the Windows key to open the Start menu. Type the app’s name in the search box and click on the Run as administrator option.
Check if you can successfully drag and drop items in the app.
2. Restart Windows Explorer
Windows Explorer process enables GUI support for many operating system elements. If you have enabled drag and drop but still can’t drag files, you must restart this process using the Task Manager. Here’s how to do it:
Step 1: Press the Control + Shift + Escape keyboard shortcut to open the Task Manager.
Step 2: Navigate down and find the Windows Explorer process in the list. Right-click on it and select the Restart option.

Step 3: Your PC screen will flicker, go blank for a few seconds and then will return to normal. Close the Task Manager.
3. Cancel the Drag and Drop Interface
Sometimes, the drag and drop interface glitches and you cannot move the selected file or folder in the File Explorer. So, you can cancel the current operation by clicking and holding the left mouse button and then pressing the Esc key. Leave the left mouse button afterward. This will cancel the drag and drop interface. After that, close and relaunch the File Explorer or app window and reattempt a drag and drop.
4. Use the Hardware Troubleshooter
You can use the hardware troubleshooter in Windows 11 to identify any issues with the mouse or trackpad connected to your PC. Here’s how to do it:
Step 1: Press the Windows key to open the Start menu. Type PowerShell in the search bar and press Ctrl + Shift + Enter keyboard shortcut.

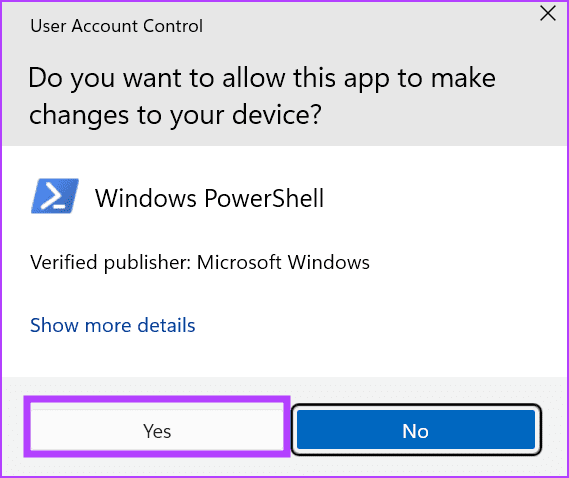
Step 2: The User Account Control window will open. Click on the Yes button to open PowerShell with administrator privileges.
Step 3: Type the following command in the PowerShell window and press Enter to execute it:
msdt.exe -id DeviceDiagnostic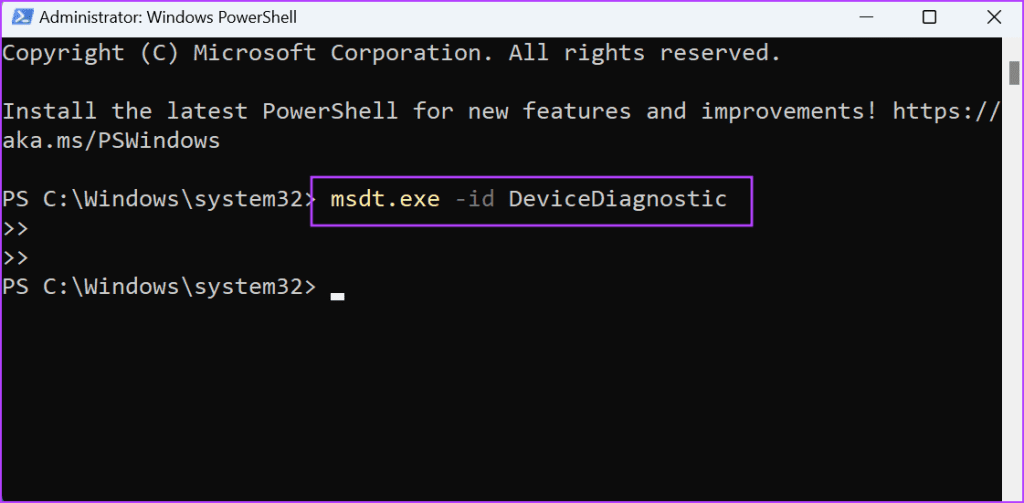
Step 4: Hardware Troubleshooter will launch. Click on the Next button.

Step 5: Wait for the troubleshooter to identify and fix issues with connected hardware devices. Close the Troubleshooter window and restart your PC.
5. Reinstall Mouse Drivers
Corrupt mouse drivers can also result in the drag and drop feature not working on Windows 11. So, you must reinstall the mouse drivers using the Device Manager. It will remove the current driver and automatically search and load the driver after a restart. Here’s how to do it:
Step 1: Press the Windows key to open the Start menu. Type device manager in the search bar and press Enter.

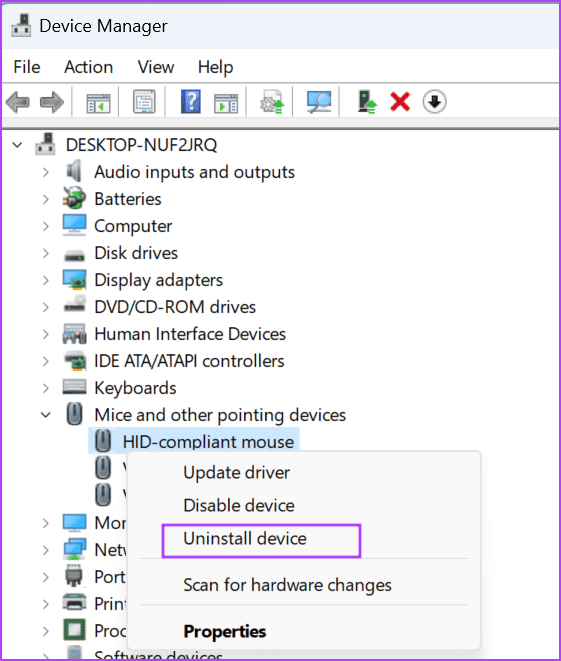
Step 2: Expand the ‘Mice and other pointing devices’ section. Find the mouse in the list and right-click on it. Select the Uninstall device option.
Step 3: Click on the Uninstall button.

Step 4: Close the Device Manager and restart your PC. Windows will load the mouse drivers.
6. Tweak Windows Registry
If you can’t drag and drop in Windows 11, it could be due to misconfigured or mangled mouse settings. You can fix this with a registry tweak but create a backup of the registry before proceeding with this method. Here’s how:
Step 1: Press the Windows key to open the Start menu. Type regedit in the search bar and press Enter.

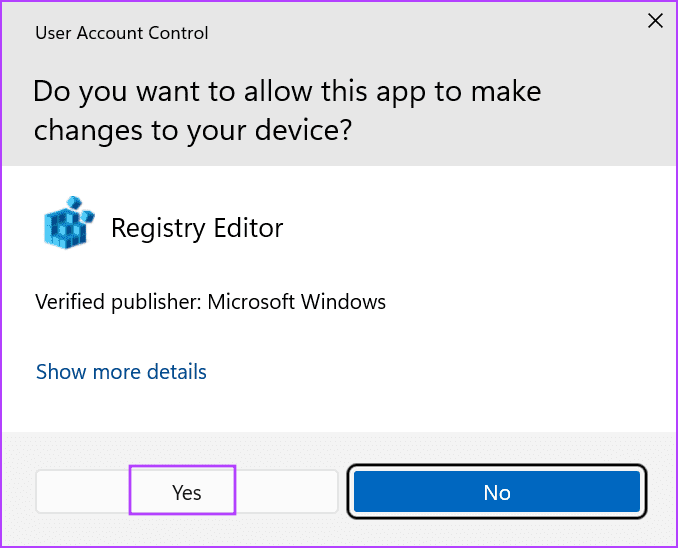
Step 2: The User Account Control window will launch. Click on the Yes button to open Registry Editor with administrator privileges.
Step 3: Go to the address bar at the top, paste the following path, and press Enter:
HKEY_CURRENT_USER\Control Panel\Desktop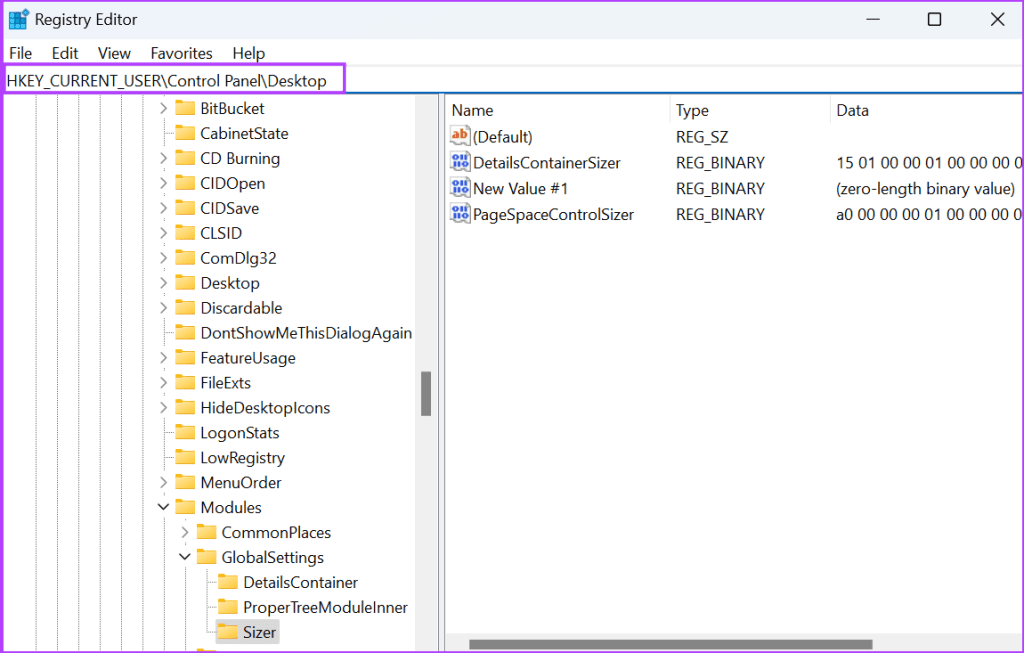
Step 4: Double-click on the DragHeight value to edit it. Type 4 in the Value Data field and click on the OK button.

Step 5: Now, double-click on the DragWidth value to edit it. Type 4 in the Value Data field and click on the OK button.

Step 6: Close the Registry Editor window and restart your PC to apply the changes.
7. Run an SFC and DISM Scan
System file corruption or a damaged Windows component store could be a reason behind the drag and drop not working in Windows 11 issue. You can use the in-built command line tools (SFC and DISM) to fix these issues. Here’s how to run the SFC (System File Checker) and DISM (Deployment Image Servicing and Management) scans:
Step 1: Press the Windows key to open the Start menu. Type cmd in the search bar and press Control + Shift + Enter keyboard shortcut.

Step 2: The User Account Control window will open. Click on the Yes button to open Command Prompt with administrator privileges.

Step 3: Type the following command and press Enter to execute it:
SFC /scannowStep 4: After that, type cls and press Enter to clear the Command Prompt screen.

Step 5: Next, execute the following commands one by one:
DISM /Online /Cleanup-Image /CheckHealth
DISM /Online /Cleanup-Image /ScanHealth
DISM /Online /Cleanup-Image /RestoreHealth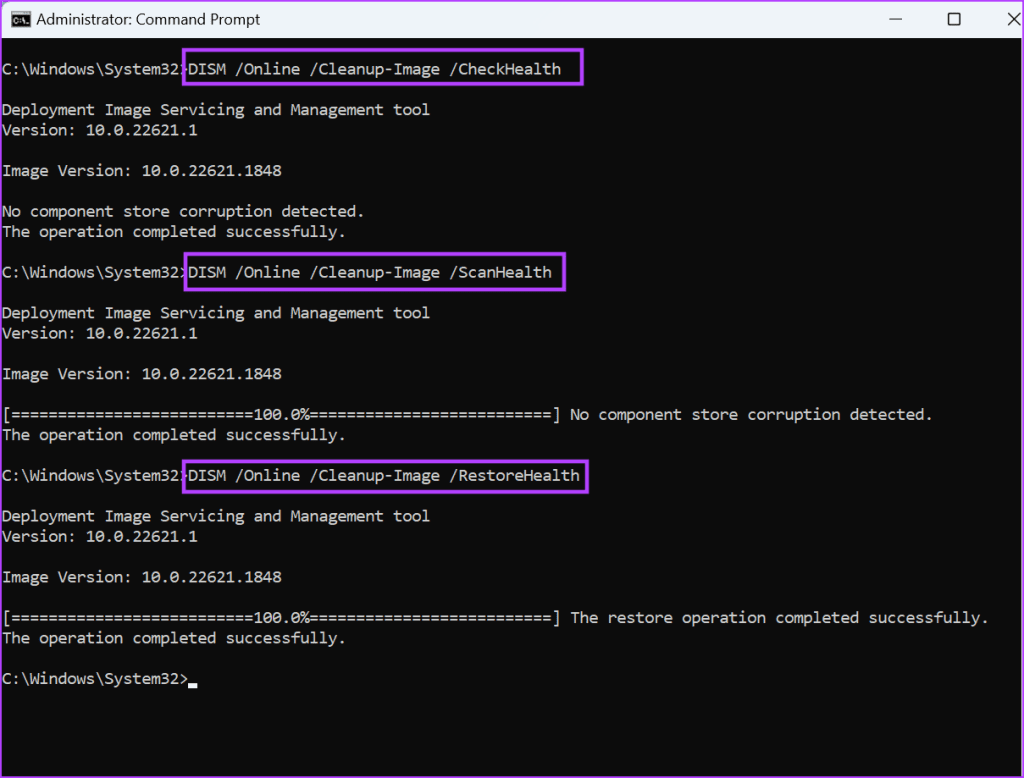
Step 6: Wait for the scans to complete. Close the Command Prompt window and restart your PC to apply the changes.
8. Use System Restore
You can use System Restore to revert to an earlier point in time when everything worked fine on your PC. Here’s how to do it:
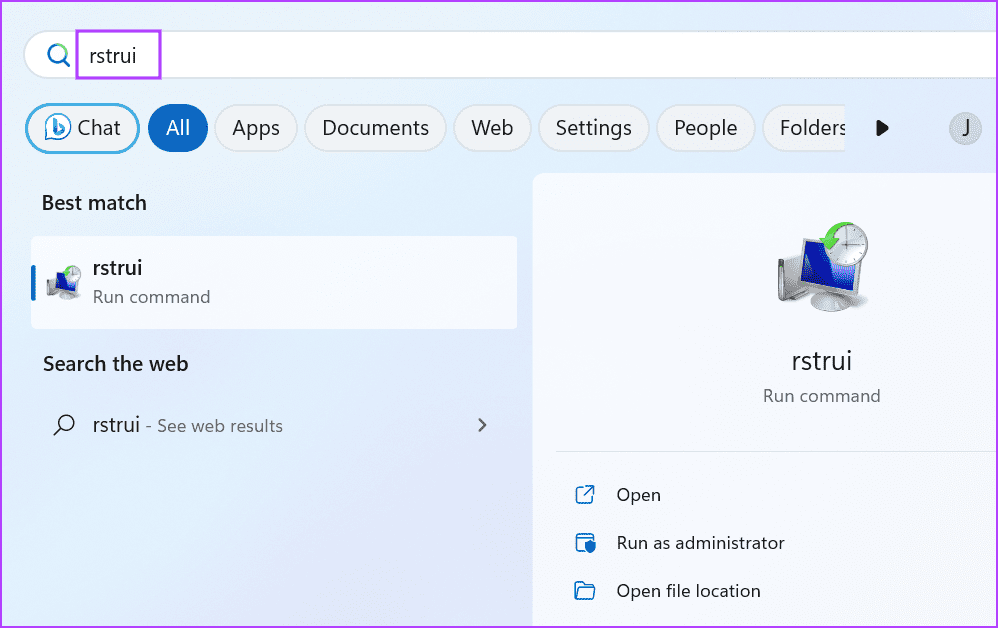
Step 1: Press the Windows key to open the Start menu. Type rstrui in the search bar and press Enter to open System Restore.
Step 2: Click on the Next button.

Step 3: Select a restore point from the list and follow the on-screen instructions to apply the restore point on your PC.

Drag and Drop Files Easily
When you face the ‘drag and drop not working in Windows 11’ issue, first close the app and restart the Windows Explorer. After that, cancel the drag and drop interface, use inbuilt troubleshooters, and reinstall mouse drivers. Lastly, tweak the system registry, run an SFC and DISM scan, and use System Restore if everything else fails to fix the issue.
Was this helpful?
Last updated on 31 July, 2023
Read Next
 3 Best Ways to Enable Drag and Drop on Windows 11
Windows 11 introduced a ton of new features along with a design refresh during its release.
3 Best Ways to Enable Drag and Drop on Windows 11
Windows 11 introduced a ton of new features along with a design refresh during its release.
 Windows Tip: Hold Mouse Right Button for More Drag & Drop Options
Almost all of us have adapted to the drag and drop style of opening applications, playing songs and videos on players, creating bookmarks, moving files/folders and lot more.
Windows Tip: Hold Mouse Right Button for More Drag & Drop Options
Almost all of us have adapted to the drag and drop style of opening applications, playing songs and videos on players, creating bookmarks, moving files/folders and lot more.
 Dragdis: A Useful Drag and Drop Online Bookmarking Tool
Bookmarking tools are nothing new on the web, and you certainly have tried one or another, especially if you browse the web with any frequency.
Dragdis: A Useful Drag and Drop Online Bookmarking Tool
Bookmarking tools are nothing new on the web, and you certainly have tried one or another, especially if you browse the web with any frequency.
 How to Fix Mouse Drag Issues By Activating ClickLock in Windows
Have you ever come across a hardware problem where the left mouse of your laptop has stopped functioning properly and you realize that moving files and folders (using drag and
How to Fix Mouse Drag Issues By Activating ClickLock in Windows
Have you ever come across a hardware problem where the left mouse of your laptop has stopped functioning properly and you realize that moving files and folders (using drag and
 Get the Old Click-and-Drag Thing Back in Mac OS X Lion – Guiding Tech
It’s been two months since I’ve been using my new Macbook Pro, that came with the OS X Lion operating system, for my primary work.I’m also running Windows 7 using
Get the Old Click-and-Drag Thing Back in Mac OS X Lion – Guiding Tech
It’s been two months since I’ve been using my new Macbook Pro, that came with the OS X Lion operating system, for my primary work.I’m also running Windows 7 using
 Customize Click, Scroll, Drag & Other Trackpad Gestures in OS X Lion
The Trackpad (or the mouse touchpad) that comes with the Macbook Pros and Airs these days, which is also available as a separate product to be used with iMacs or
Customize Click, Scroll, Drag & Other Trackpad Gestures in OS X Lion
The Trackpad (or the mouse touchpad) that comes with the Macbook Pros and Airs these days, which is also available as a separate product to be used with iMacs or
 OS X Yosemite: Re-enable Tap Drag, Keyboard Navigation
With the release of OS X Yosemite, Apple brought an entirely new look to the system – easily its greatest design departure since the ‘Aqua’ interface was brought in a few
OS X Yosemite: Re-enable Tap Drag, Keyboard Navigation
With the release of OS X Yosemite, Apple brought an entirely new look to the system – easily its greatest design departure since the ‘Aqua’ interface was brought in a few
 Top 7 Ways to Fix Telegram Notifications Not Working on Windows 10 and Windows 11
Telegram app is also available for desktops to let you connect with your friends from your Windows computer.
Top 7 Ways to Fix Telegram Notifications Not Working on Windows 10 and Windows 11
Telegram app is also available for desktops to let you connect with your friends from your Windows computer.
The article above may contain affiliate links which help support Guiding Tech. The content remains unbiased and authentic and will never affect our editorial integrity.

